
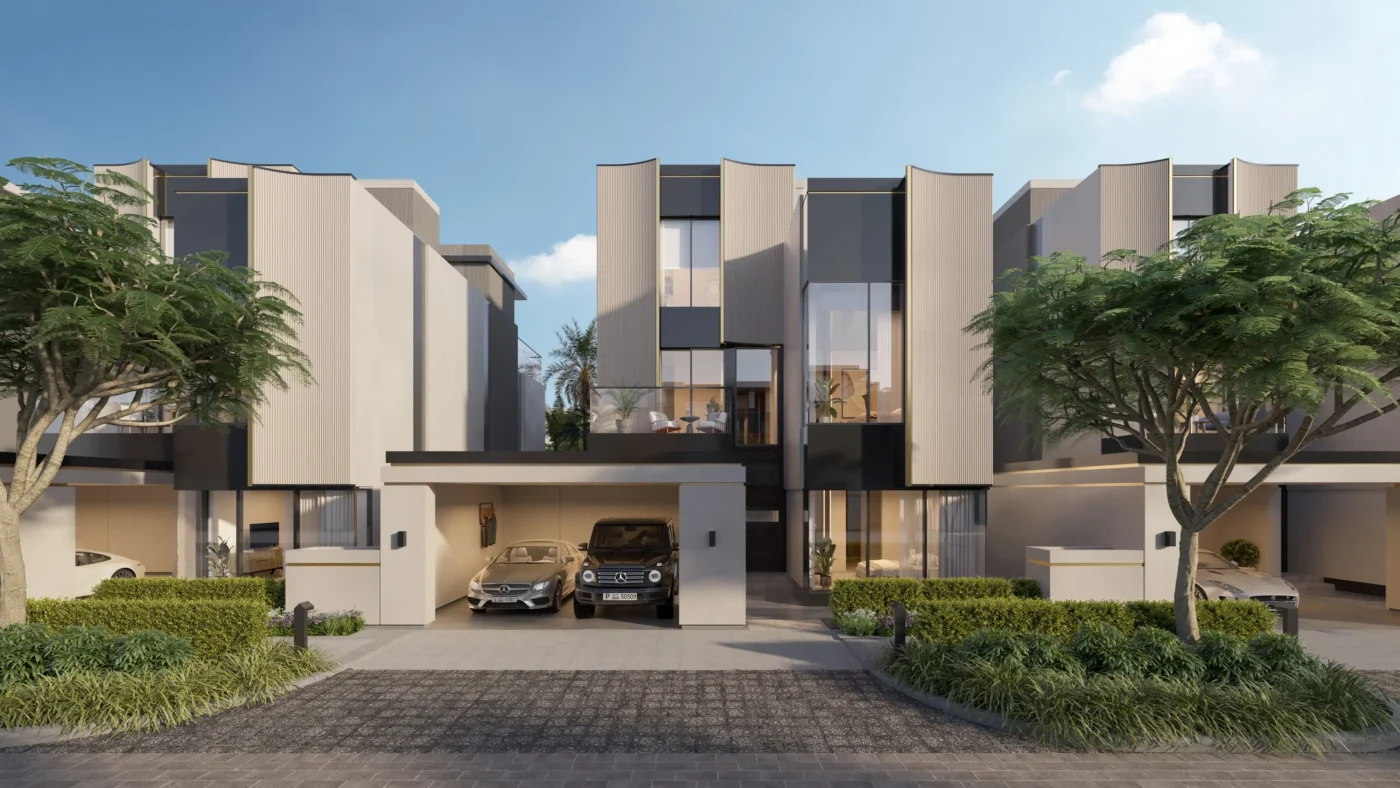
3D rendering involves several stages, from preparing the scene and setting materials to adjusting lighting, rendering, reviewing, and delivering the final output. Delays at any stage can affect the overall project timeline.
A well-planned workflow helps 3D artists and visualization teams reduce unnecessary work, avoid repeated tasks, and use rendering resources more efficiently. The goal is not simply to render faster, but to maintain the required visual quality while reducing avoidable delays.
Here are 12 techniques that can help optimize a 3D rendering workflow for faster delivery.
What Is 3D Rendering Workflow Optimization?
Table of Contents
3D rendering workflow optimization is the process of improving the steps, settings, assets, and resources used to create a final render. It helps teams reduce unnecessary processing, repeated work, and revision time while maintaining the required quality.
A typical workflow includes project planning, scene preparation, modelling, materials, camera setup, lighting, test renders, final rendering, post-production, and delivery.
12 Techniques to Optimise a 3D Rendering Workflow
1. Start With a Clear Project Brief
A clear brief gives the rendering team a defined target before production begins. It should cover the required views, output resolution, file format, visual references, deadline, and expected level of detail.
Knowing these requirements early helps the team plan the scene around the final output. It also reduces the risk of rebuilding cameras, materials, or other elements later.
2. Organise and Clean the 3D Scene
A well-organised scene is easier to manage and update. Use clear names for objects, layers, materials, and cameras so the team can find what it needs quickly.
Remove unused objects, duplicate assets, hidden geometry, and unnecessary elements where appropriate. A cleaner scene can also make troubleshooting easier when a render takes longer than expected.
3. Use Optimised 3D Models and Assets
Detailed models can improve realism, but not every object needs the highest possible level of detail. Background objects and elements that appear small in the final image usually do not need the same level of detail as the main subject.
Use optimised models, proxies, instances, or suitable levels of detail where the rendering software supports them. This can reduce scene complexity without noticeably affecting the final image.
4. Optimise Textures and Materials
Large texture files and complex materials can add unnecessary load to a scene. Use texture sizes that match the final output and avoid using extremely detailed maps when the difference will not be visible.
Reusable material libraries can also reduce setup time. Instead of creating common materials from scratch for every project, teams can use approved materials and adjust them as needed.
5. Set Up Cameras Early
Camera angles determine what will actually appear in the final render. Setting them early helps the team focus modelling and detailing efforts on the areas that matter.
Once the main views are established, unnecessary detail outside the camera frame can often be reduced or removed. This keeps production focused on what the final image needs to show.
6. Optimise Lighting Before Final Rendering
Lighting affects both the appearance of a render and the resources required to produce it. Test the lighting setup before starting a high-quality final render.
Check shadows, reflections, exposure, light intensity, and the overall balance of the scene during preview renders. Adjust unnecessary or overly complex lighting elements before moving to the final stage.
7. Use Low-Quality Test Renders During Development
Running a final-quality render every time you make a small change can waste significant time. Use lower-quality preview settings while checking the camera, materials, lighting, composition, and object placement.
Once the scene looks correct, increase the required settings for the final render. This separates quick testing from final production and keeps the workflow moving.
8. Render Only What You Need
Not every part of a scene needs the same level of detail or rendering effort. Use the required resolution, camera views, and output settings for the final purpose.
For still images, region rendering can help test specific areas during development. For animation, render only the required frame range and output format. Avoid spending time rendering content that will not be used.
9. Use Render Layers and Passes Strategically
Render layers and passes can separate elements such as lighting, shadows, reflections, backgrounds, or objects. This can give the post-production team more control over individual parts of the image.
When a small visual adjustment is needed, some changes may be handled in post-production without rendering the entire scene again. The exact benefit depends on the render engine and project setup.
10. Reuse Assets, Materials, and Scene Setups
Reusable assets can save time across multiple projects. Build organised libraries for common furniture, vegetation, materials, lighting setups, architectural elements, and other frequently used components.
Standard camera and lighting setups can also help when projects have similar requirements. The more repeatable the workflow becomes, the less time the team needs to spend rebuilding the same elements.
11. Automate Repetitive Workflow Tasks
Some parts of a rendering workflow involve repetitive actions such as file organisation, naming, scene preparation, batch rendering, or asset management.
Where the software supports it, automation can handle these routine tasks and reduce manual work. This allows artists to spend more time on modelling, composition, lighting, and other creative decisions.
12. Build a Clear Review and Revision Process
Rendering speed depends on more than scene performance. Unclear feedback and repeated revisions can also extend delivery times.
Use preview renders for early reviews and collect feedback before starting the final render. Keep major changes organised and confirm approvals at key stages. A clear review process helps prevent avoidable rework.
What Slows Down a 3D Rendering Workflow?
Several issues can increase 3D architectural rendering and production time:
- Heavy or unoptimised geometry
- Large or unnecessarily detailed textures
- Complex materials
- Too many objects in a scene
- Inefficient lighting setups
- High-quality settings during testing
- Poor scene organisation
- Repeated revisions
- Manual repetitive tasks
- Rendering unnecessary views or areas
Identifying the main source of delay is the first step toward improving the workflow.
How Can You Balance Rendering Speed and Image Quality?
The goal is not to use the lowest possible settings. It is to use settings that provide the required visual quality without spending resources on details that do not improve the final output.
Use lower settings for previews and increase them for final production. Review elements such as resolution, sampling, lighting, reflections, shadows, textures, and scene complexity based on the requirements of the final image.
The right settings also depend on the rendering software and engine being used. A workflow that works well for one setup may not produce the same results in another.
Final Thoughts
Faster 3D rendering is not only about increasing hardware performance. A well-organised workflow can reduce unnecessary processing, repeated work, and avoidable revisions.
By improving each stage from project planning to final delivery, 3D artists and visualization teams can build a more efficient workflow and deliver projects on time without compromising the required quality.
FAQ’s
How can I make my 3D rendering workflow faster?
Start with a clear brief, organise the scene, optimise models and textures, set cameras early, use preview renders, and establish a clear review process.
What causes 3D rendering to take longer?
Complex geometry, large textures, heavy materials, complex lighting, high render settings, and unnecessary scene elements can increase rendering time.
How can I reduce render time without losing quality?
Optimise the scene, use appropriate settings, simplify elements that have little visual impact, and use lower settings for previews before running the final render.
How can asset libraries improve a 3D rendering workflow?
Reusable asset and material libraries reduce the need to rebuild common elements for every project and can make scene preparation more consistent.
Does automation improve 3D rendering workflow efficiency?
Automation can reduce repetitive manual tasks such as batch rendering, file management, and routine scene preparation when supported by the software and workflow.
How can 3D rendering services improve project presentations?
3D rendering services make complex design information easier to understand by converting plans and concepts into realistic imagery. This can improve presentations, approvals, marketing and communication between project stakeholders.

