
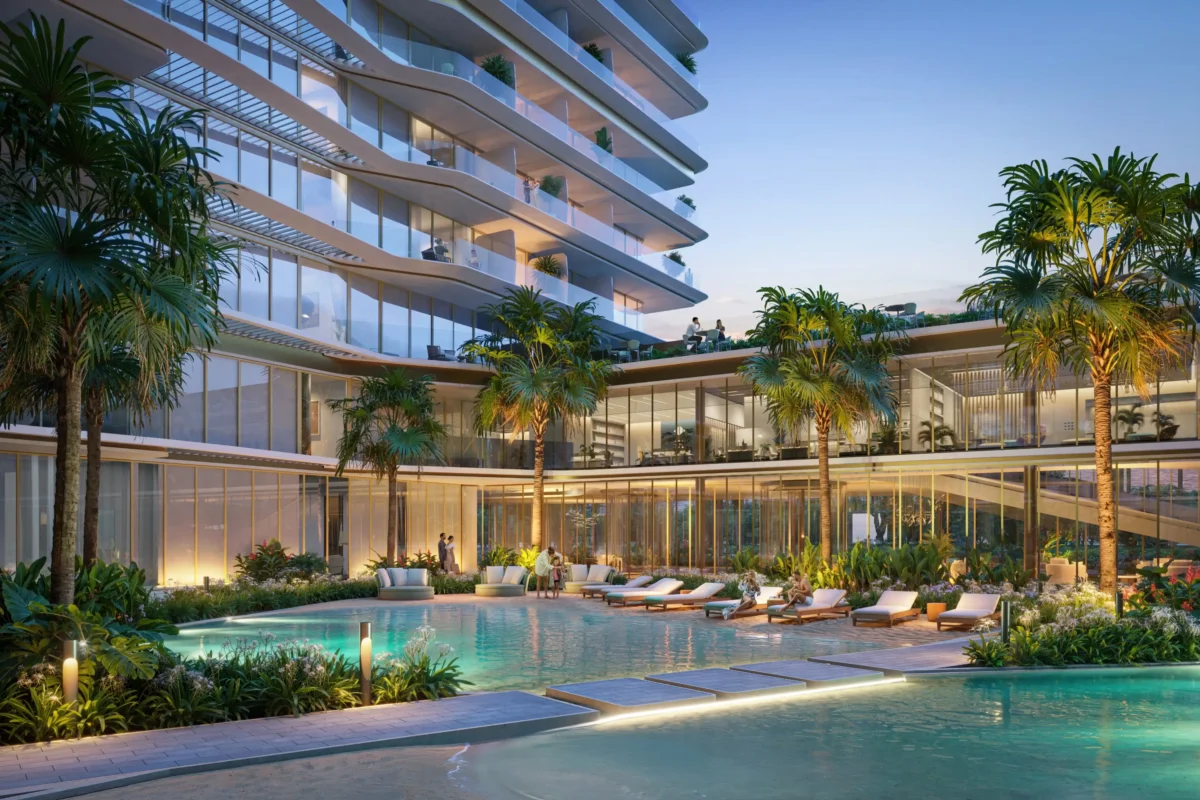
The time needed to create a 3D rendering depends on the project. A simple house exterior may take only a few days, while a large commercial project or walkthrough animation can take several weeks.
The rendering process also involves more than creating a realistic image. Artists build 3D models, add materials, and make revisions before delivering the final files. Each step affects the overall turnaround time.
Understanding what influences the timeline helps you plan your project, set realistic expectations, and avoid unnecessary delays.
How Long Does 3D Rendering Take?
Table of Contents
Most 3D rendering projects take anywhere from 2 days to 4 weeks. The exact timeline depends on the project’s size, level of detail, number of revisions, and the final output. Small residential projects are usually completed faster than large commercial developments.
Average Turnaround Time
The table below shows the typical turnaround time based on project size.
| Project Type | Typical Timeline | Common Examples |
|---|---|---|
| Small Project | 2–4 business days | Single room, studio apartment |
| Residential Home | 3–7 business days | House, villa |
| Mid-size Project | 5–10 business days | Apartment building, small residential complex |
| Commercial Project | 1–3 weeks | Office building, hotel, retail store |
| Large Development | 2–4 weeks | Township, mixed-use development, commercial complex |
*These timelines are general estimates. The final delivery time depends on the project’s complexity, revisions, and client requirements.
What Factors Affect the 3D Rendering Timeline?
Project Size
Larger projects take more time than smaller ones. A single house is quicker to complete than a commercial building or a large residential development because it has fewer spaces and details to model.
Level of Detail
The amount of detail also affects the timeline. A basic concept rendering is faster to create than a photorealistic rendering with custom materials, furniture, landscaping, and lighting.
Number of Reviews
Each camera angle requires additional work. A project with one exterior view takes less time than a project with several exterior and interior views.
Interior vs. Exterior Rendering
Interior renderings often require more detail. Artists must model furniture, decor, lighting, and finishes for every room. Exterior renderings usually focus on the building, landscape, and surrounding environment.
Revisions
Client feedback is a normal part of the process. Small changes may only take a few hours, while major design updates can extend the project timeline.
Project Files and References
Clear floor plans, elevations, material references, and design notes help artists start the project quickly. Missing or incomplete files often lead to delays.
Step-by-Step 3D Rendering Process
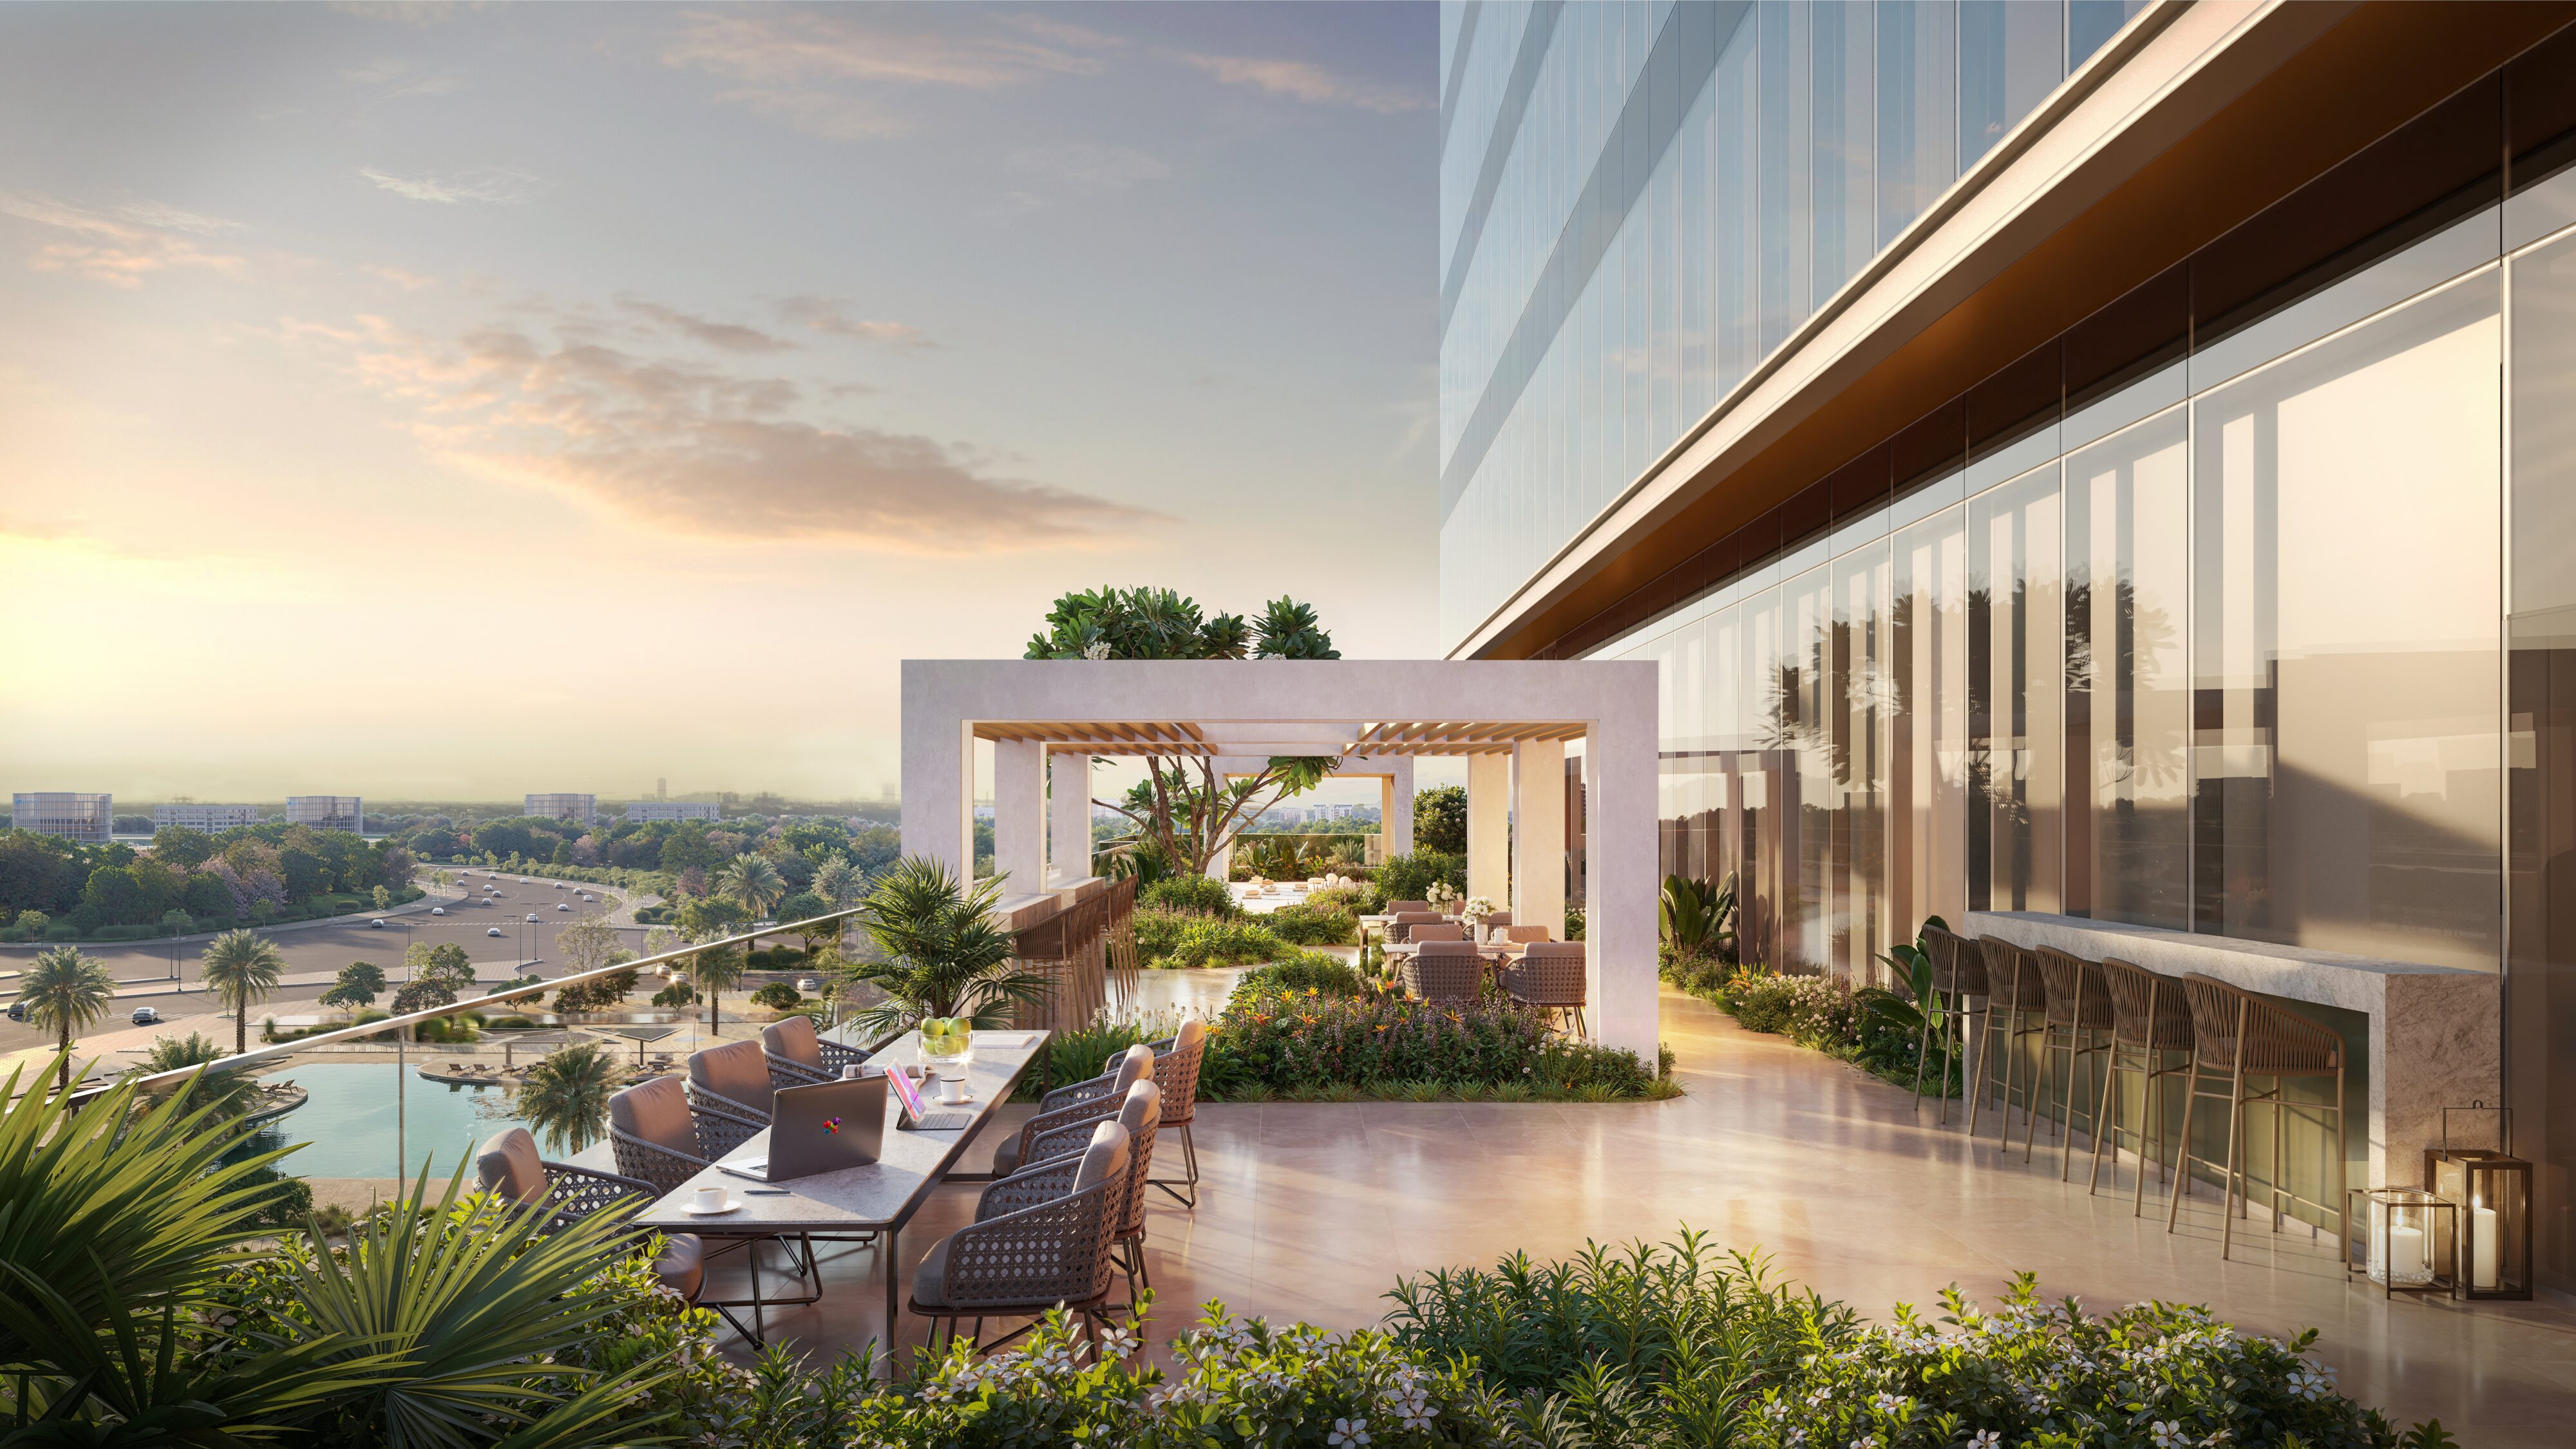
Creating a 3D rendering involves several stages. Each step builds on the previous one to produce accurate and realistic visuals.
Step 1: Project Brief and File Review
The process starts with a project review. Artists collect floor plans, elevations, sketches, 3D models, and other design files. They also discuss the project goals and client requirements.
Step 2: 3D Modeling
The team creates a digital model of the building or space. This model includes walls, doors, windows, roofs, and other architectural details. If a 3D model already exists, it can be refined instead of rebuilt.
Step 3: Materials and Textures
Materials such as wood, glass, concrete, stone, and metal are applied to the model. Textures add surface detail and make each material look more realistic.
Step 4: Lighting and Environment
Artists add natural or artificial lighting to the scene. They also include elements such as furniture, plants, vehicles, or landscaping to create a realistic setting.
Step 5: Camera Setup
Virtual cameras are placed to capture the best views of the project. Different angles highlight the building’s design and important features.
Step 6: Rendering
The software processes the complete scene and generates high-quality images or animations. The rendering time depends on the project’s size and level of detail.
Step 7: Client Review and Revisions
The first draft is shared with the client for review. Feedback is collected, and approved changes are made before the final version is prepared.
Step 8: Final Delivery
After the revisions are complete, the final files are delivered in the required format. Depending on the project, this may include images, animations, or virtual tours.
How to Reduce 3D Rendering Turnaround Time
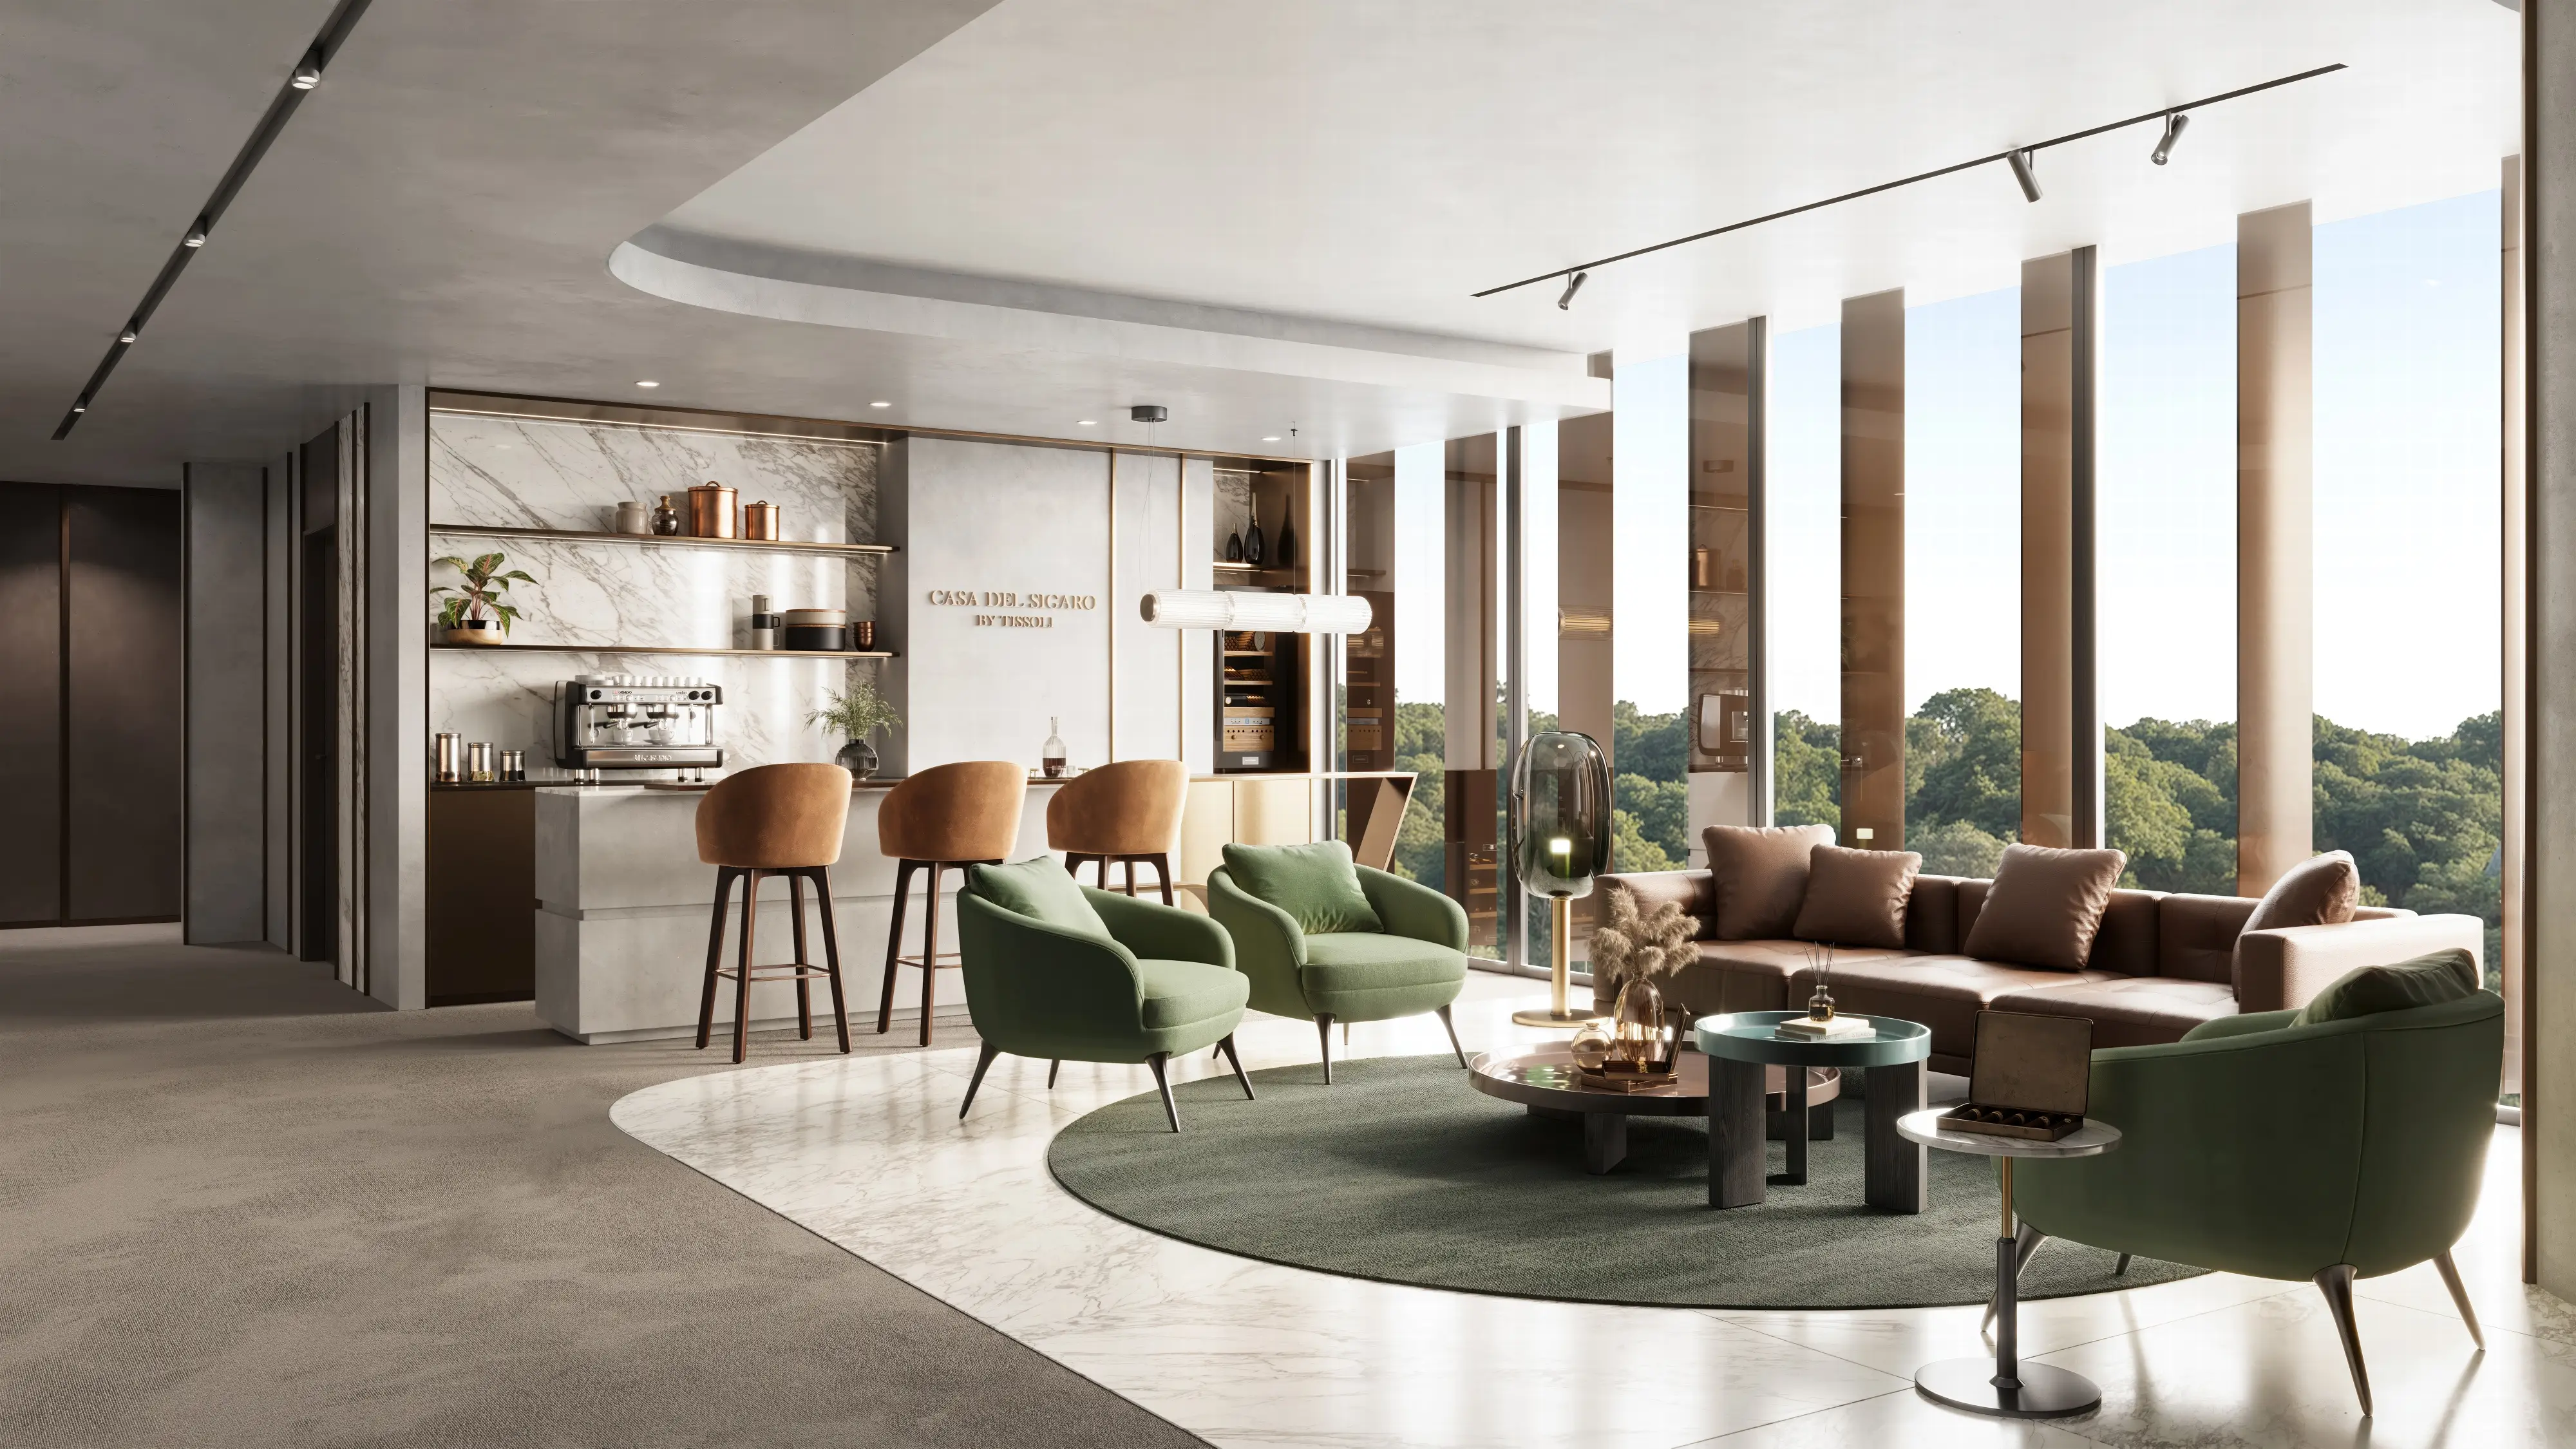
These simple steps can help reduce delays and keep the rendering process on schedule.
Share Complete Project Files
Provide floor plans, elevations, site plans, sketches, and any available 3D models before the project starts. Complete files reduce questions and save time.
Finalize the Design Before Rendering
Try to complete the design before the rendering work begins. Major design changes during production often increase the turnaround time.
Provide Material References
Share reference images, color schemes, material samples, or design inspiration. Clear references help artists understand your expectations from the start.
Give Clear Feedback
Review the first draft carefully and combine your comments into one response whenever possible. This makes revisions faster and avoids repeated review cycles.
Set Realistic Deadlines
Allow enough time for modeling, rendering, and revisions. A realistic schedule helps maintain quality and reduces the need for rushed changes.
Final thoughts
The time needed to create a 3D rendering depends on the project’s size, level of detail, and review process. Good Planning can help keep your project on schedule. Sharing complete project files, finalizing the design early, and providing clear feedback can reduce delays and improve the overall workflow.
A realistic timeline allows artists to focus on quality and deliver visualizations that accurately represent your project before construction begins.
FAQ’s
How long does a commercial 3D rendering project take?
Commercial projects often take 1–4 weeks. Larger buildings, multiple views, and detailed designs usually require more production time.
Can a 3D rendering be completed in 24 hours?
Some simple projects can be completed within 24–48 hours. However, complex projects often need more time to maintain quality and accuracy.
What information is needed before a 3D rendering project starts?
Most projects require floor plans, elevations, sketches, site plans, or a 3D model. Material references and design notes also help speed up the process.
Does animation take longer than still images?
Yes. Walkthrough animations require hundreds or thousands of rendered frames. This makes them more time-consuming than creating a single still image.
Can I speed up the 3D rendering process?
Yes. You can reduce delays by sharing complete project files, finalizing the design early, providing clear feedback, and setting realistic deadlines.

