At Render Atelier we take pride in our ability to deliver 3D furniture rendering services on time and yet maintain exceptionally high quality. We can do this because:
- We’re great at what we do
- We have loads of experience
- We always work with a plan.
This is our approach to a seamless hassle-free 3D Rendering and visualization. If you’re a 3D furniture designer or a manufacturer this post will let you have a behind the scenes look into our creative process and show you how we do what we do!
When it comes to 3D furniture rendering services and Lifestyle visualizations creating a perfect atmosphere, maintaining a photorealistic and accurate representation for presentations and advertising is paramount. Our 3D visualization company uses the top of the line CGI and 3D Rendering software’s to bring the tiniest of details to life. Read on to know how our 3D furniture rendering services stand out from the crowd.
Steps that make our 3D furniture rendering services unique
Table of Contents
Step 1: Collecting References
At Render Atelier every 3D furniture rendering project starts with gathering our source material, the blueprints, sketches, props or photographs. It’s best that we get as much information as possible at this stage so we can deliver exactly what you need without having to make corrections or alterations. We generally do not encourage verbal descriptions as too much detail is lost in the fog of language. Words are vague, numbers and figures are concrete. How fast we can deliver depends a lot upon the material our 3D artists get. The more information, the better.
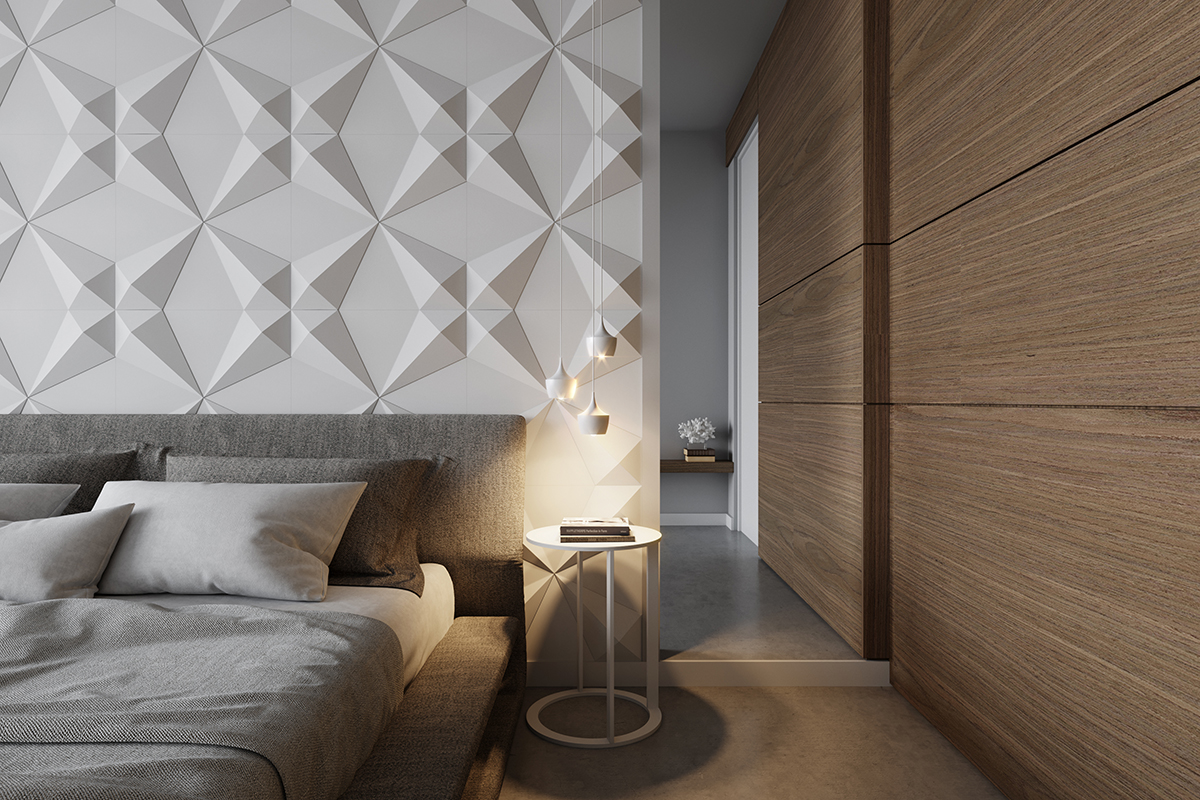
Step 2: Setting the Stage
Sometimes all the client needs is a 3D visualization against a solid white background, but more often than not while designing material for an advertisement or magazine catalogue it works best to have your furniture set in a realistic environment, so your clients can easily visualize your products. Our 3D Artist begins by creating the room from basic shapes: blank walls, floor and ceiling as well as a rough plan for where the product will be placed as well as other decor and textures. Once the scene is set they also get an idea of which direction they want the primary light source.
Step 3: Bringing the 3D Furniture Home
Once the room is ready, our 3D artist places the premade object or using the resources collected in the first step creates the object from scratch. In this step adjusting the size of the furniture to the room is of paramount importance. To maintain a photorealistic visualization we have to get this right or it will mislead your clients. In this step, we also set the position and viewing angle that shows off the best aspects of your furniture.
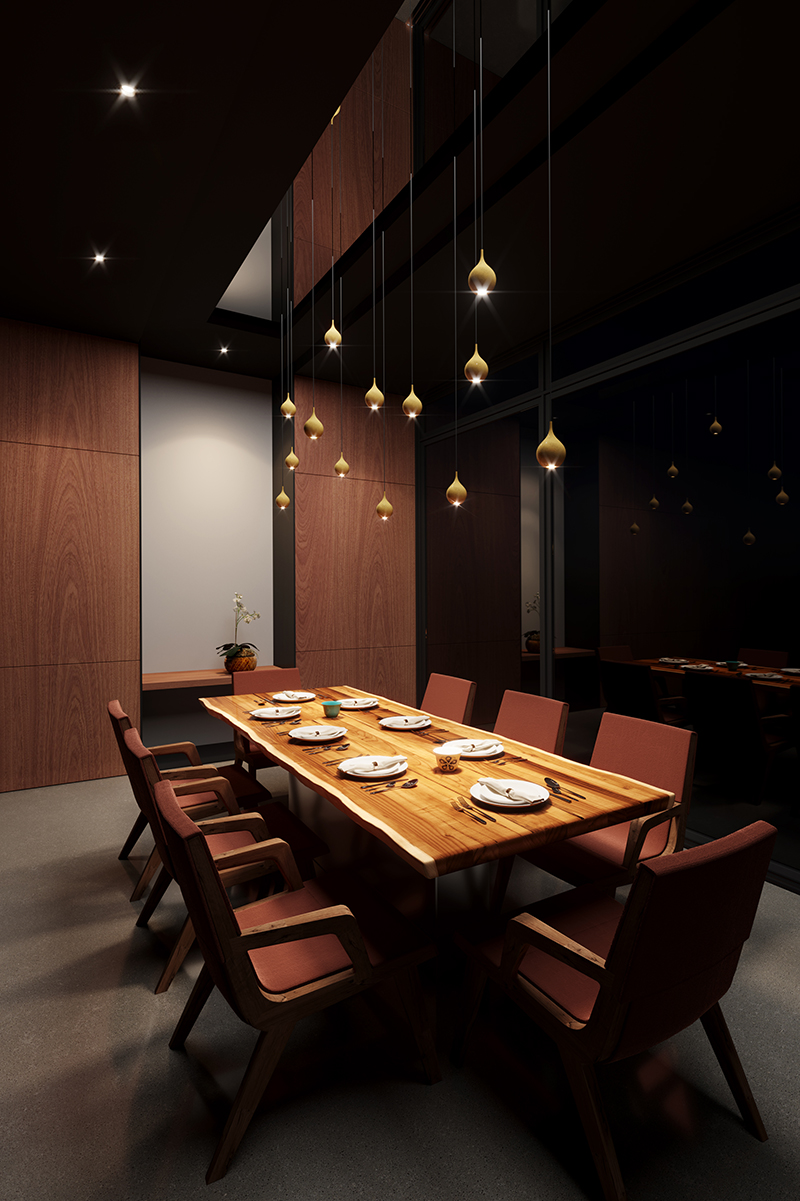
Step 4: Lights!
Using the top of the lines tools we can replicate any light condition and play god with shadows and light. To create a realistic lighting we start off with the primary light source, in most cases, we choose daylight, this makes the base layer of the light. However, you never have a single light source and thus we play around with bouncing the primary light off the ceiling and other surfaces in the room. Next, we add in lamps, light fixtures etc. Each of these lights highlights different types of textures in the room. We select what works best with your product. Along with light you also have a shadow, our 3D artist painstakingly ensure that each shadow corresponds to the light source, and is as near to life as possible.
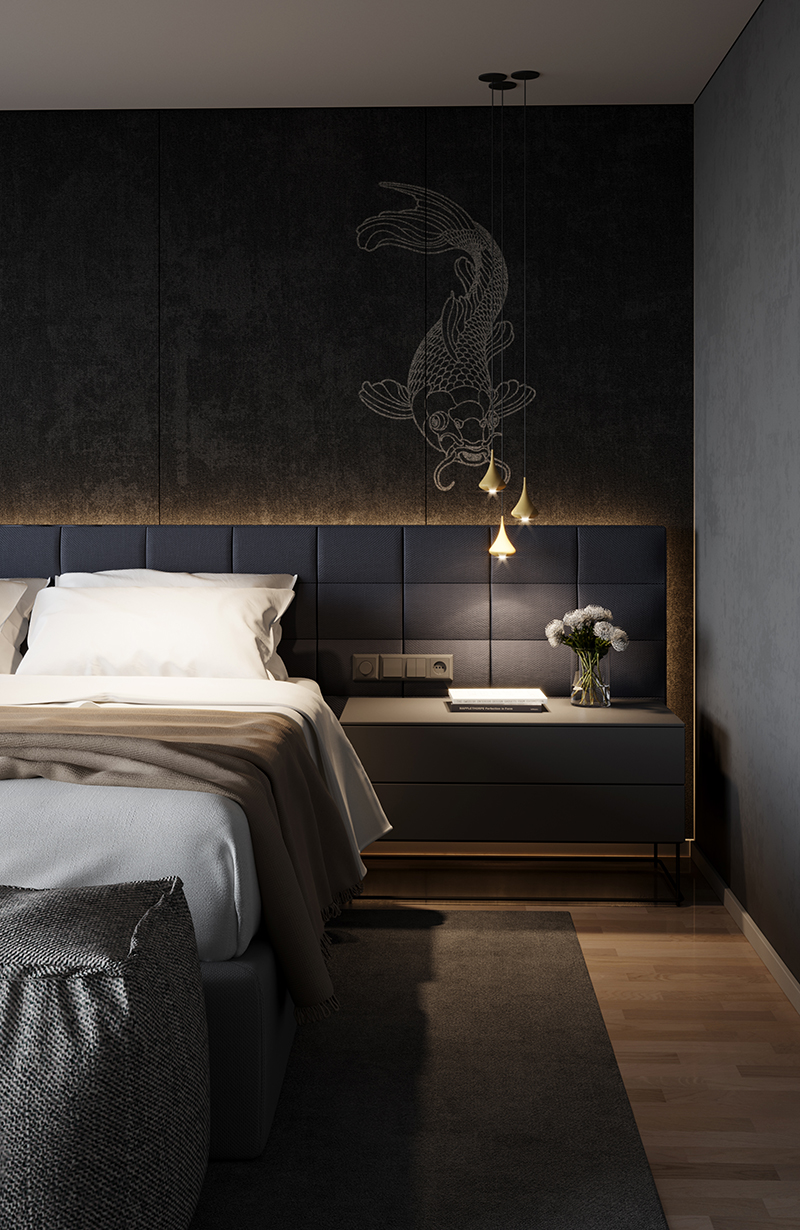
Step 5: Texture and Textile
Here’s where we dress up the room and create an atmosphere. Once we have the room lit up to showcase your product, we start working on complementing it by designing around it. Our team comprises of Interior designers as well as architects, using their input we digitally create a visually stunning virtual world. Playing with colours and textures we can create a warm cosy setting or something minimal and professional looking. To make the picture visually appealing we craft a pallet around your furniture piece. Additionally, we add in a bit of atmosphere, for instance, a light curtain ruffled by the breeze.
Step 6: Décor
To complete the look we add in décor, sometimes these objects are suggested by our clients, but more often than not our interior designers suggest objects from our digital library that would work well with the overall look of the room. We use everything from picture frames to rugs to cushions to flower vases, books etc. All these elements create a more organic and natural looking setting.
Step 7: Camera Angles
When working in the virtual world you have the luxury to pick any camera angle you want. We design our lifestyle furniture visualizations as whole spaces, not just separate shots, so it’s technically possible to show their each and every nook and cranny. That being said there’s no need to have a visual from under your piece of furniture! For presentations and promotional media, you need just 3 or 4 good angles that show off your design. Here we have an overall look and see if our placement done in step 3 is on point and if it all looks visually pleasing.
Step 8: The first stage of Rendering
At this stage, we test our design using interior rendering software like 3DS Max. It runs various checks and specialists to review the results. If glitches, clipping or lighting errors are detected, they are immediately fixed. This is by far the most important and time-consuming part of the process.
Step 9: The Final Rendering
Even with all our experience at times, things do go wrong. If while testing we notice anything out of place we correct it in this stage. Also, we let your clients review the progress of the 3D furniture project and if they have any input or would like any changes we implement them at this point. Once it’s set it’s processed by our software and the final rendering is complete.
Step 10: Post Production Polishing
At Render Atelier 3D Architectural Rendering we’re a bit obsessed with perfection when it comes to offering 3D furniture rendering services. After the final stage of rendering, our 3D artist uses graphical editors and fine tune the minute details, retouching shadows and highlights, adjusting the colours. At this stage, each and every aspect of the project is minutely examined and if fine-tuning is required it’s done. Once we’re satisfied with the finished product, we sit back and just marvel at it.
That’s all, folks; we don’t have a magic wand no quick fix just plain old hard work and diligence. It takes a tremendous amount of skill, hours and hours of work and patience to put together an awe-inspiring digital work of art.
Get in touch to learn more about our 3D furniture rendering services and how we can help your business grow. Also, do let us know if you have any questions, we’ll be happy to help.